Mocha is a testing library, created to be simple, extensible, and fast. The following write-up gives a short introduction on how to setup Mocha and how to easily run all unit tests or only a single one in Visual Studio Code.
Mocha is a JavaScript test framework running on Node.js and in the browser.
To debug your Mocha unit tests in Visual Studio Code, we first have to create a launch.json file in the .vscode folder in your projects root level.
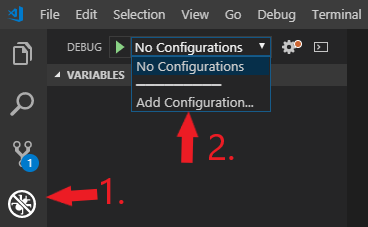
Go to the Debug view (CTRL+Shift+D) and select “Add Configuration” in the “No Configurations” dropdown.
Initially, the empty launch.json file looks like this:
{
    "version": "0.2.0",
    "configurations": [
    ]
}
In the following, we will fill the configurations property. It lists all configurations and lets you add new configurations or edit existing ones.
Run all Mocha unit tests
If you want to run all Mocha tests in a specific folder, you can use the following configuration.
{
   "type": "node",
   "request": "launch",
   "name": "Mocha all tests",
   "program": "${workspaceFolder}/node_modules/mocha/bin/_mocha",
   "args": [
      "--opts",
      "${workspaceFolder}/mocha.opts",
      "${workspaceRoot}/src/app/**/*.spec.ts"
   ],
   "cwd": "${workspaceRoot}",
   "internalConsoleOptions": "openOnSessionStart"
}
It searches for all spec files in the specified directory in your workspace (src/app) and its subdirectories and runs them consecutively.
The program property is the absolute path to the Mocha executable. Args contains the arguments passed to Mocha.
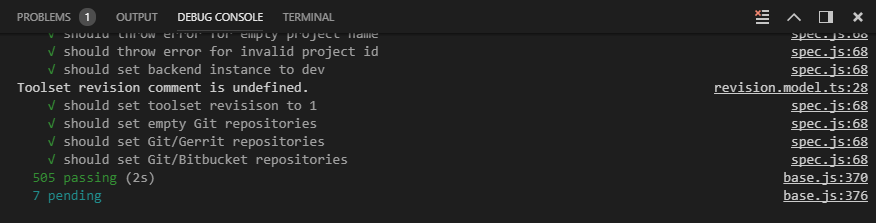
I set internalConsoleOptions to openOnSessionStart so that VS Code switches to the Debug console when started, showing the progress of the execution.
Run the current file
If you just want to run or debug a single test, add this launch configuration.
{
   "type": "node",
   "request": "launch",
   "name": "Mocha Current File",
   "program": "${workspaceFolder}/node_modules/mocha/bin/_mocha",
   "args": [
      "--opts",
      "${workspaceFolder}/mocha.opts",
      "${file}"
    ],
    "cwd": "${workspaceRoot}"
}
It is almost the same as the upper one, except that args contains the ${file} command instead of a path. Thereby, the currently active file in VS Code is executed.
Mocha configuration file
As you have seen in the upper code snippets, I did not set the arguments directly in the launch scripts but defined them externally in a mocha.opts file.
By default, Mocha looks for this file in a folder called test. So if you put it there, you can omit the –opts property.
--require ts-node/register
--u bdd
--timeout 5000
--colors
--bail
--check-leaks
--use_strict
As I have written my unit tests in TypeScript, they have to be transpiled to JavaScript first with ts-node/register.
TypeScript Node is a NPM package which is used internally for module resolution. Install it locally in your project with
npm install -D ts-nodeThe user-interface is set to BDD – Behavior Driven Development (which is the default) as I use describe(), it(), before(), after(), beforeEach(), and afterEach()in my tests.
The timout is set to 5000 milliseconds, whereas you could also write 5s. The default value is 2000ms.
I also activated –bail so that Mocha terminates the run after the first failed test.